
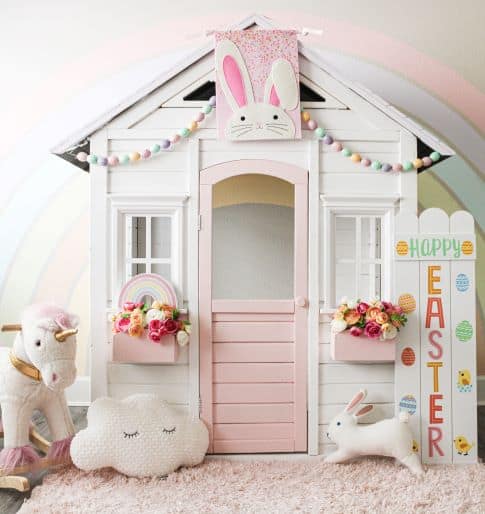
As a single mama with one income, I try to make my kid’s spaces fun, but not for a lot of money. I had done the playhouse hack for under $250, and it turned out cute, and so well, I wanted something for the background. I did an entire rainbow wall painting mural for less than $85 and it was customized to the colors.
Before I started I researched a few rainbow wallpapers, which can be pricey, and I did not have the help, I would need to stick them on the wall.
In addition, I did not want any damage to my walls. With the paint, I figured I could just paint right over the rainbow if needed.
Ok, I am not going to lie. This adorable rainbow wall mural was WAY more complicated than I thought it was going to be in the beginning.
I see all these pretty, hand-drawn, watercolor rainbows all over Instagram and Pinterest, and I had to do a redo.
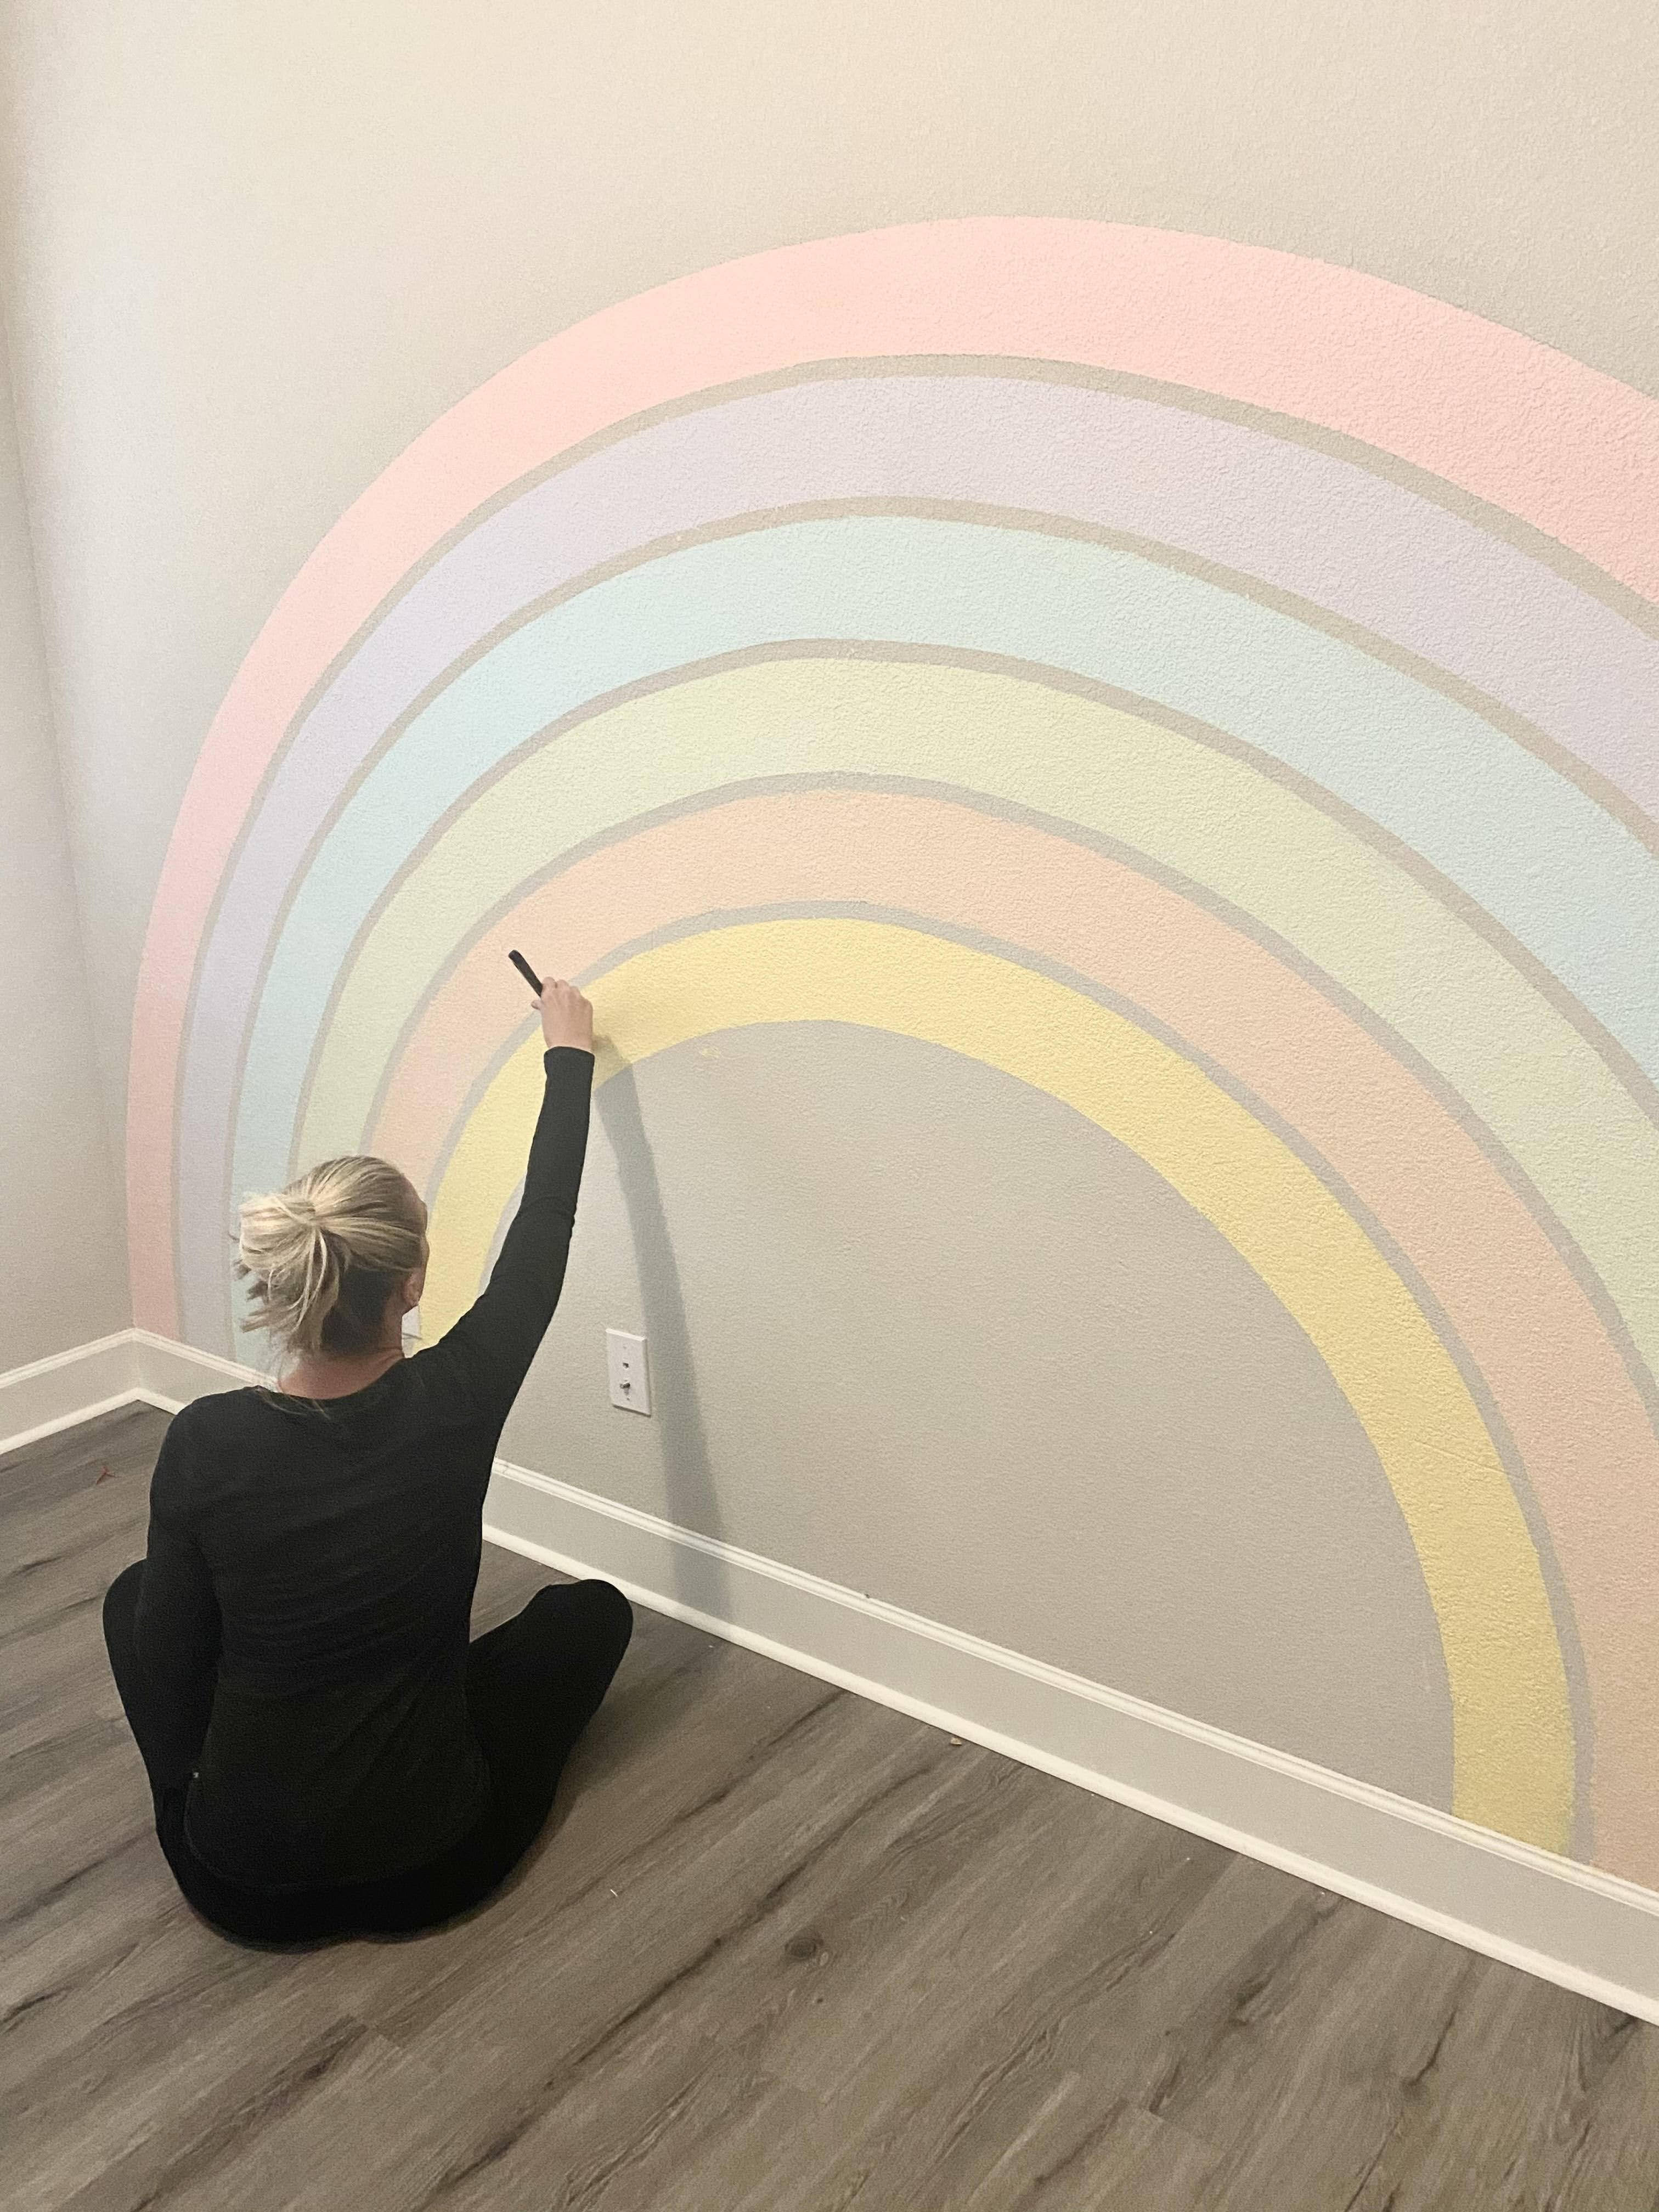
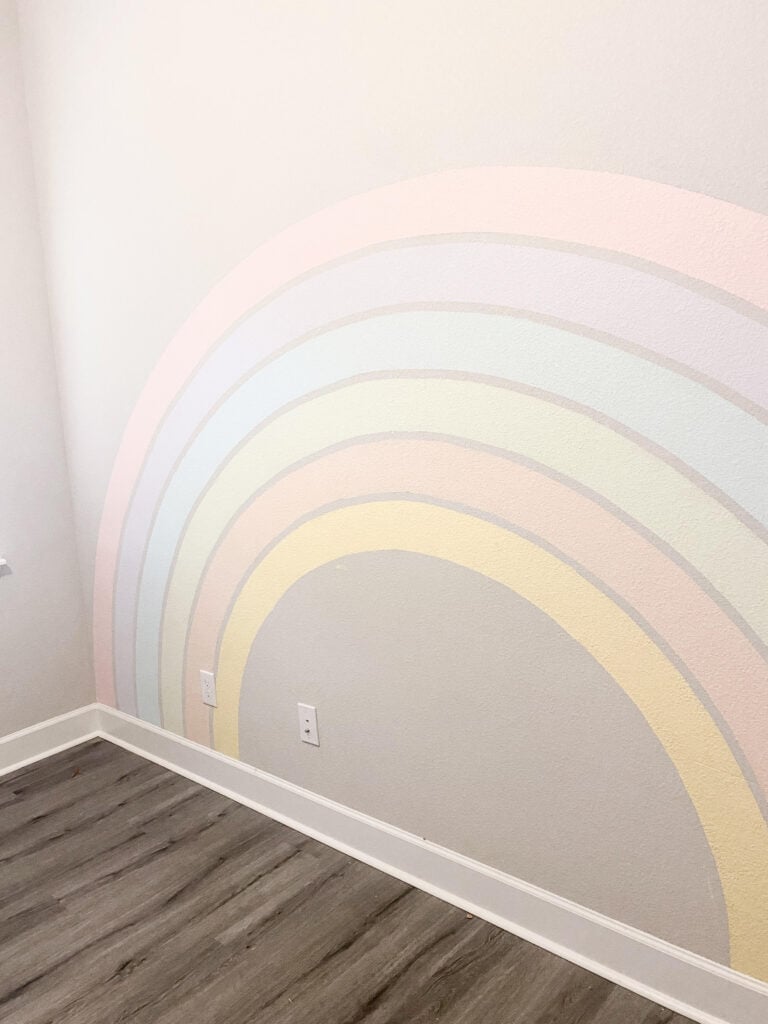
In the end, this DIY rainbow mural turned out so a dreamy and cute accent wall behind our wooden playhouse in our playroom.
This rainbow wall painting would be perfect in a playroom, bedroom, or nursery. The rainbow brings such a colorful element to any room.
Everyone on other websites made painting a rainbow wall look so easy. But when I figured out the measuring, my second time around it went great. Yes, it was much easier.
The first time, I had to repaint my walls with the original base color to get the pencil marks off and start over after it dried.
I know right now the light, barely-there pastel rainbows are super popular, but I was going to a more uniform, perfectly-lined rainbow.
My mishaps with the DIY rainbow mural wall will guide you (hopefully) to a perfect rainbow. Once I figured out this process, it was much easier and more time-efficient. You can have a perfectly colorful rainbow mural in no time!
Let’s get started!
Rainbow Wall Painting-Supplies Needed
- String (I used some ribbon I had leftover from one of the kid’s projects, it worked fine
- Small wall nails or push pins
- Pencil or light-colored, colored pencils such as light pink or light blue (light but able to still see and easily paint over
- Paint colors will depend on your wall width and how many rows you want your rainbow. I got the sample size; it was plenty to cover each row; they only cost $4.50 apiece.
- Paint brush and roller set. Get a variety of brushes and rollers. The small 4-inch ones worked the best for me, and then I used brushes to the line.
- Painters tape.
- Painter’s cloth or plastic, or old sheet.
The colors I used for the rainbow wall: Behr Marquee Flat Matte in 1) Pink Cupcake 2) Pumpkin Essence 3) Lavender Memory 4) Floating Lily 5) Dew Pointe (I ended up repainting the yellow a much lighter yellow)
Rainbow Wall Mural-Step One
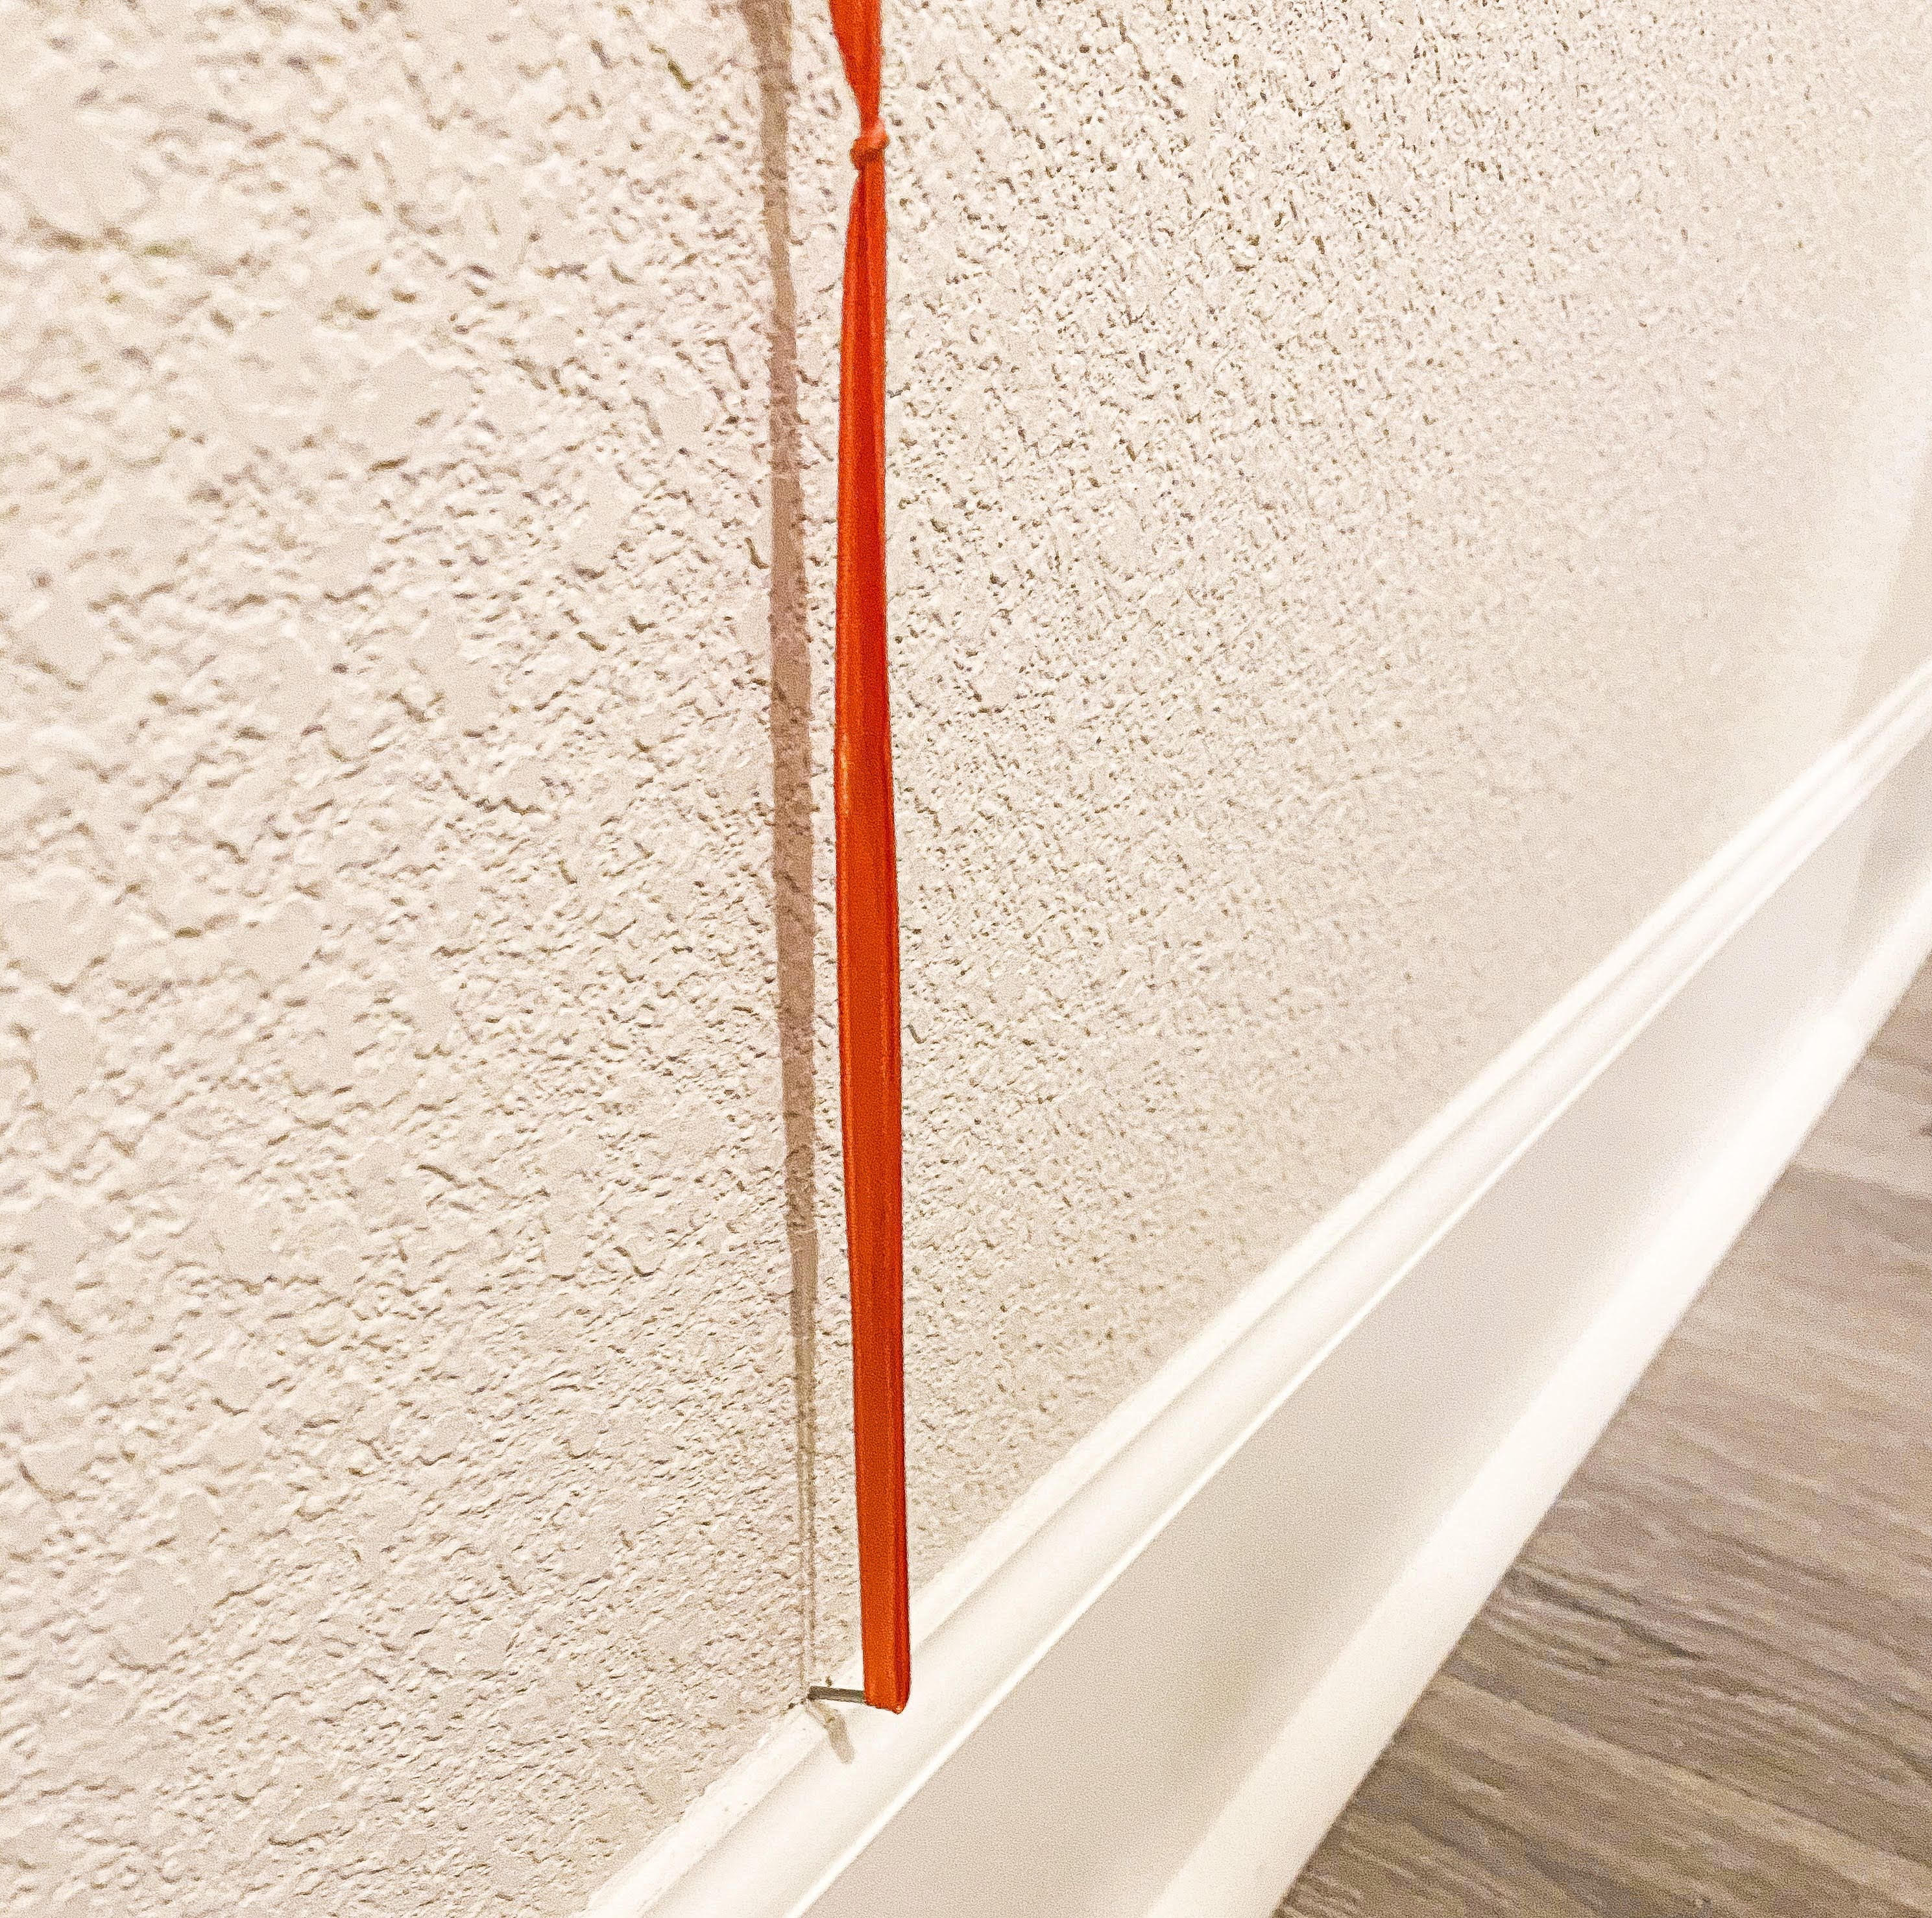
Measure the width of your wall. My wall was 132 inches. Tie the string as tight as you can to the nail, and my nail went in at 66 inches.
So, for example, measuring from the nail to the top (length) of the rainbow was 66 inches.
Measure a straight line with the string to 66 inches and made a mark. This is the top and beginning of the rainbow. Do a test run with the string first to make sure it goes from corner to corner without being too short or overlaps or hitting the surrounding walls.
It is quite simple. I made it way too hard the first time.
Rainbow Mural-Step Two
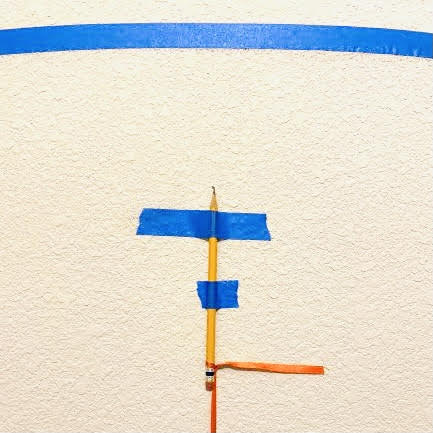
On the end of the string, tie your string to the very tip of the pencil where the lead comes out. Start at the top of the rainbow at the mark you made.
Go left or right with your pencil to make your first rainbow arch; always start in the middle going to each side from the beginning mark.
Use slight pressure on the pencil or colored pencil. I used a pencil to take pictures to share with you. If I did it again, I would use a light-colored pink or blue pencil.
DIY Rainbow Mural-Step Three
After you make your first arch, decide how wide you want each arch and how much space between each color. My wall was large, so I wanted wider arches.
Each one of my rainbow lines is five inches wide, and I used the width of the painter’s tape as my in-between space. You can find wider painter’s tape or thin.
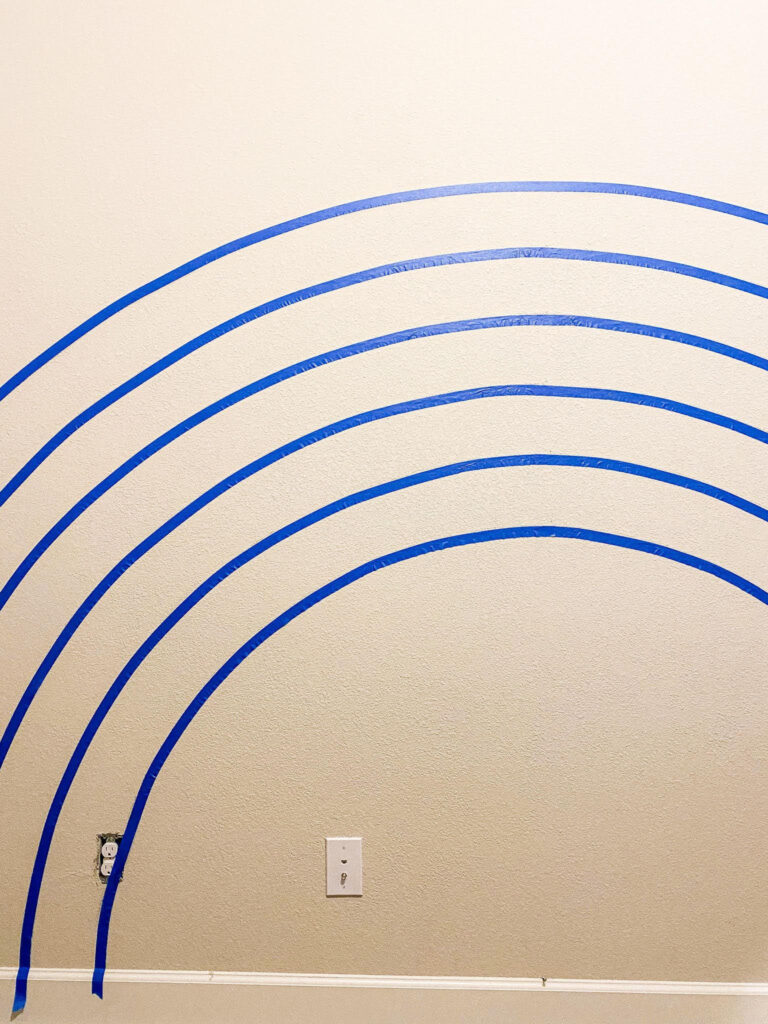
Rainbow Wall Painting-Step Four
Before moving on to making your second arch, using painter’s tape, line your first arch. This way, if you feel you need to adjust the arch size or in-between, you are not too far into the rainbow. It is easier to start over now if needed.
I used Duck Clean Release. I feel it’s bendable for the arches without having to rip small spots for it to arch. This painter’s tape has a great line to it too. Just make sure you press and go over it before you start to paint your rainbow wall mural.
Rainbow Mural-Step Five
After spacing your rainbow arch, mark your next line with your pencil. All I did was roll the string on the pencil to the mark I made and line your arch right to left again. And repeat!! You can decide how many arches you want.
I originally had four but decided I needed one more, and I probably could have added another.
Rainbow Mural Wall-Step Six
Finish lining all your arches with your painter’s tape, pressing as you go. Line the baseboard of your wall and make sure you have something covering your floors. I used a variety of brushes and rollers, particularly microfiber rollers, for the texture of the walls.
My walls are very flat, with flat paint, these worked best. I would not buy expensive brushes and rollers for this project.
Paint Your Rainbow Mural-Final Step!
Paint! I had little hands help me, and they loved it and made an extra mess! We had fun as a family doing this colorful rainbow wall painting, and it gets kids excited about their space. This space is our playroom for my toddler. It matches her sweet little indoor playhouse.
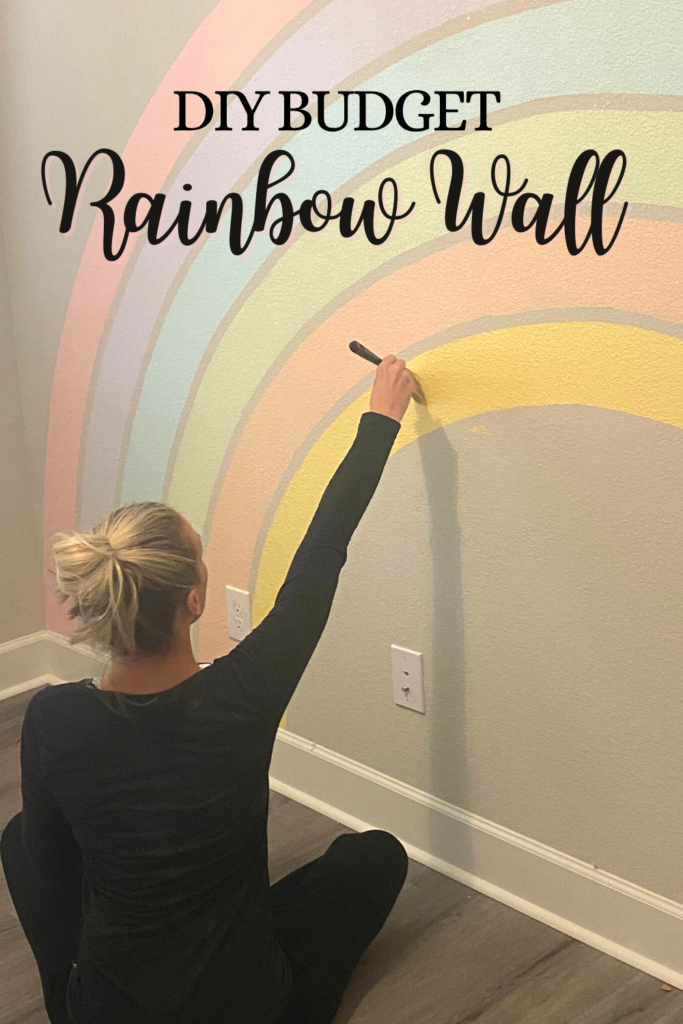
Tada! A budget, DIY rainbow wall mural in a day!

This post may contain affiliate links. I may receive a small commission if a qualified link is used at no cost or obligation to you ever. Additionally, I am an Amazon Affiliate Partner. I may receive a commission if a qualifying link is used.


Comments are closed.